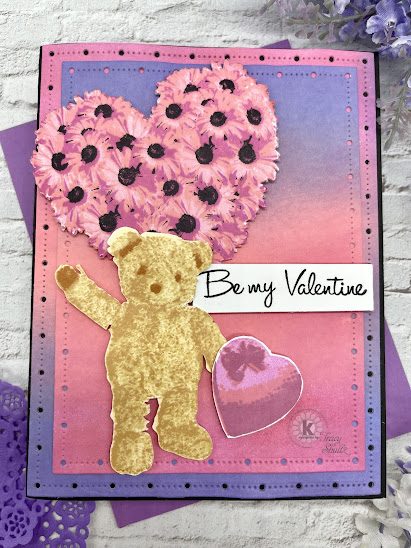
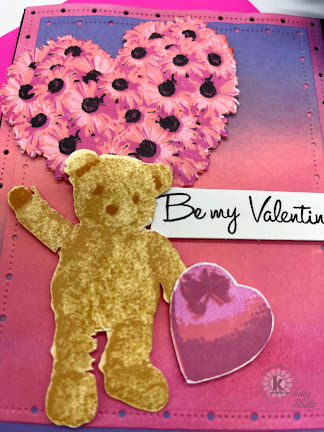
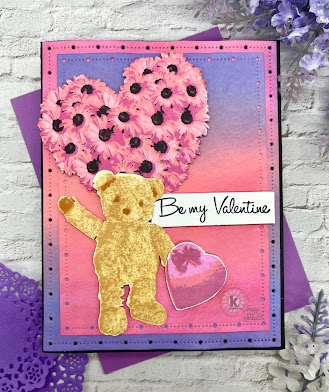
Hello! Today I have another adorable Teddy Bear Card - this one a Get Well Card featuring the Get Well Teddy Multistep Stamp and the AH-LO-HAA Printable Background for toner foiling (Minc foiling) Water Splashes (I think they look like flourishes). Be sure to check out these and all the amazing Kitchen Sink Stamps: here: https://www.kitchensinkstamps.com/shop/sc/ref.cgi?storeid=*14894f2aab5d40e710c47a8a&name=Tracy_Shultz

https://youtu.be/29PxnJrlAF0


List of products uses:
I used my Brother Scan and Cut to cut out the free SVG digital cut file for the Carnations and the Teddy Bear provided free at the time of purchase by Kitchen Sink Stamps. This is a digital file for use on all electronic cutting machines and is free when you purchase any stamp set from Kitchen Sink Stamps. These offer a free die cut of your stamps. You must put the SVG file in your card before you check out. If you purchase them after you check out they cost .99 cents. They are sent directly to your email and you have a limited time to then download and save the files to your computer. I like using the SVG files because when cut out they provide a jig that helps with alignment.
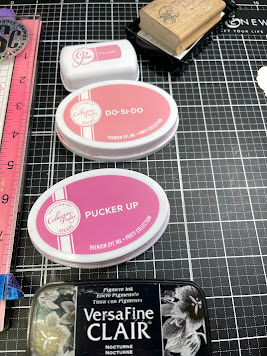
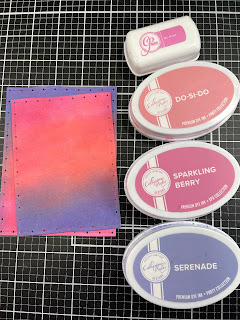
I stamped the Carnations with these Catherine Pooler Ink colors:
Stems Step 1: Eucalyptus
Stems Step 2: Green Tea
Flowers Step 1: It's a Girl
Flowers Step 2: Tutti Fruity
Flowers Step 3: Party Dress
For the Teddy Bear, I used the following Altenew Inks:
Step 1: Rocky Shores
Step 2: Mocha
Step 3: Espresso
Step 4: Versafine Clair Nocturne Ink
I foiled the Water Splashes Digi Background with pink hearts toner (minc) foil. I selected that background because it reminded me flourishes. I used the Altenew Fluted Oval Dies for the large pink oval and the foiled oval. I used a scalloped oval die to cut the light pink foil centerpiece that the Teddy Bear sits inside. I used foam tape to pop up the Teddy Bear and trimmed down the carnations to make a small bouquet for the Teddy Bear to hold. I used the Get Well Soon sentiment from the Get Well Teddy stamp set on my card.
Kitchen Sink Stamps:
- Get Well Teddy Stamp
- AH-LO-HAA Printable Background for toner foiling (Minc foiling) Water Splashes
Be sure to check out these and all the amazing Kitchen Sink Stamps: here: https://www.kitchensinkstamps.com/shop/sc/ref.cgi?storeid=*14894f2aab5d40e710c47a8a&name=Tracy_Shultz
Altenew Ink: https://shrsl.com/2pq1l
Catherine Pooler Inks:https://shop.catherinepooler.com/?aff=111
Toner (Minc) Foil: H&H Signs (Toner Foil): https://www.hhsignsupply.com/productcart/pc/Textile-Foils-c853.htm?idaffiliate=154
Minc Machine: https://shrsl.com/38fxs
Minc Transfer Folders: https://shrsl.com/3cuux
Sizzix Fluted Oval Dies: https://shrsl.com/3dh4v
Accent Opaque White 8.5” x 11” Cardstock Paper, 100lb: https://www.amazon.com/dp/B06XMXQTRX?ref=exp_nancystamps_dp_vv_d&th=1
Best Craft Tape (Yellow Tape) https://shrsl.com/3auob
Bearly Art - Precision Craft Glue - The Original: https://shrsl.com/39k8w
Altenew - Cutting Mat (SBC): https://shrsl.com/38ox0
Altenew-Cutting Mat (AN): https://shrsl.com/38oxu
Hero Arts Ultra Clean: https://shrsl.com/38ybb
Cutterbee Scissors: https://shrsl.com/3c5xy
MISTI / My Sweet Petunia https://shrsl.com/31n8x
Filmora (Video Editing Software): https://shrsl.com/2yrp6
Foiling Snobs Club: https://www.facebook.com/groups/foilingsnobsclub
Donations to this channel: PayPal:https://www.paypal.com/paypalme/tracyshultz1
You Tube: https://www.youtube.com/c/TracyShultz
Blog: www.thehopefulcrafter.com
Instagram: @Shultz551
Pinterest: https://www.pinterest.com/shultz551/
Facebook: https://www.facebook.com/thehopefulcrafter.com
Email: thehopefulcrafter@gmail.com