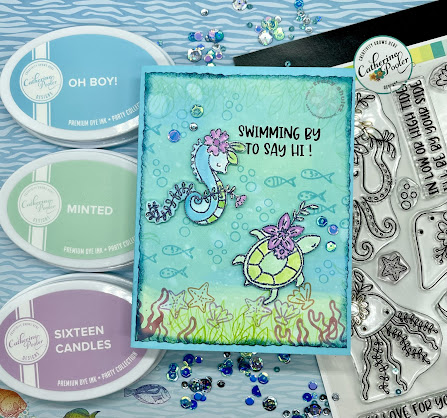
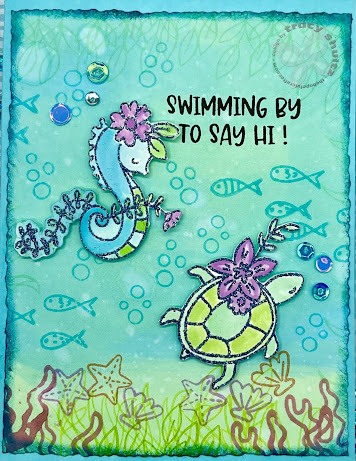
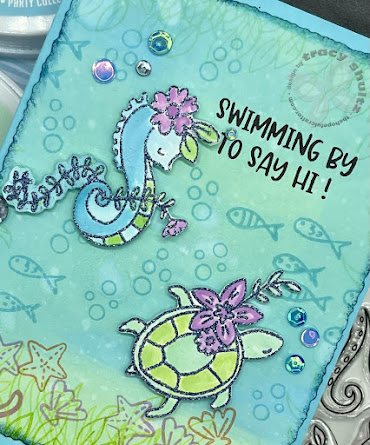
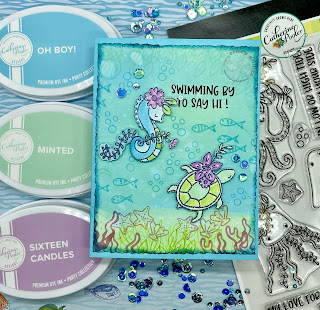
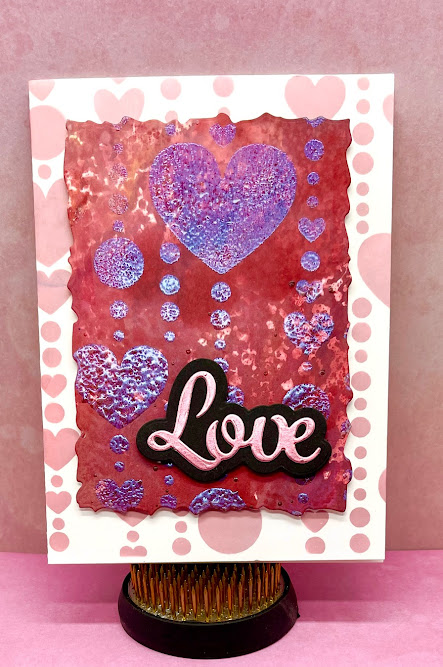
Hello! Today I have an adorable Teddy Bear Valentine's Day Card featuring several stamps from Kitchen Sink Stamps. I used Teddy Bear Wishes, Sweetheart Daisies, and Love for Ducky and Teddy Stamp sets. Be sure to check out these and all the amazing Kitchen Sink Stamps: here: https://www.kitchensinkstamps.com/shop/sc/ref.cgi?storeid=*14894f2aab5d40e710c47a8a&name=Tracy_Shultz

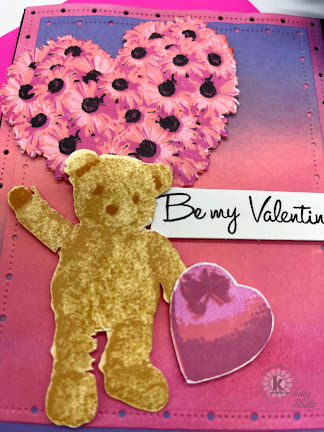

- Teddy Bear Wishes
- Sweetheart Daisies
- Love for Ducky and Teddy Stamp
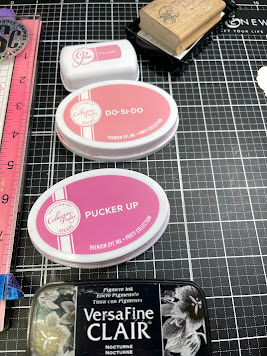
VersaFine Clair Nocturne Ink: https://shrsl.com/38ybd
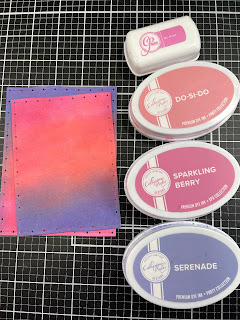
- Ink Blending Tool and (2) 10-Pack of Replacement Domed Applicators: https://shrsl.com/38owt
- Ink Blending Tool and (1) 10-Pack of Replacement Domed Applicators: https://shrsl.com/38owv
- Ink Blending Tool with 5 Domed Foam Applicators: https://shrsl.com/38ow
Accent Opaque White 8.5” x 11” Cardstock Paper, 100lb: https://www.amazon.com/dp/B06XMXQTRX?ref=exp_nancystamps_dp_vv_d&th=1
Bearly Art - Precision Craft Glue - The Original: https://shrsl.com/39k8w
Scrapbook Adhesives Tape Runner:
https://shrsl.com/38ybh
--MY SOCIAL MEDIA--
You Tube: https://www.youtube.com/c/TracyShultz
Instagram: @Shultz551
Pinterest: https://www.pinterest.com/shultz551/
Facebook: https://www.facebook.com/thehopefulcrafter.com